Wednesday, May 23, 2012

Things I Love

2:31 PM 0 Comments
Back in November, I posted about my favorite coffee cup and invited readers to post about their beloved products. Then, a few months back, Better Homes and Gardens ran a feature in their Innovations issue wherein they asked people who were famous "innovators" (i.e. the founder of Pinterest, the founder of Spoonflower -- my new favorite website) to write about the things they love. I loved the article, particularly in that it was as high tech as it was low tech (one person included twine in her list). Since reading that article (which, sadly, I can't find anywhere online), I've been thinking about my list. While I am not a famous innovator (or a famous anything, really), I thought it would be fun to make a list of my favorites. Nothing fancy here, just a handful of products that make life a little easier/more fun/prettier/etc.


Camera Strap

I love my camera strap. And I love that my husband found it because I told him I wanted a funky camera strap for my birthday and he googled "funky camera strap" and found a company called My Funky Camera.  Not only is it super cool looking, but it helps me keep track of my own camera in a room full of Canons.


I love this 4 in 1 glass party dish from Macy's. It's a punch bowl, it's a covered cake dish, it's a divided appetizer tray, and it's an elevated dessert plate. Really, anything with four purposes gets rave reviews in my little house.


After years of failed attempts to keep a regular journal as an adult. I picked up this gem. I love it - there is only room for a sentence or two every day, so I actually take a minute or two to fill it out.

Magic Bullet

I admit it: I was totally taken by the infomercial for this "ultimate party machine" about ten years ago. I still use it at least five times a week.

Shoulder Wallet

Having your wallet on a string is super useful for when you just need to run in to the store, or when you don't want to carry a big ol' purse around the farmer's market. This isn't exactly what I have, but it might be the next one I buy...

Keychain

My keys have been on a clip keychain since my coffeeshop management days. I can't imagine them any other way. The keys can also clip onto the cord of my wallet (see above) for quick trips.

Janome Sewing Machine

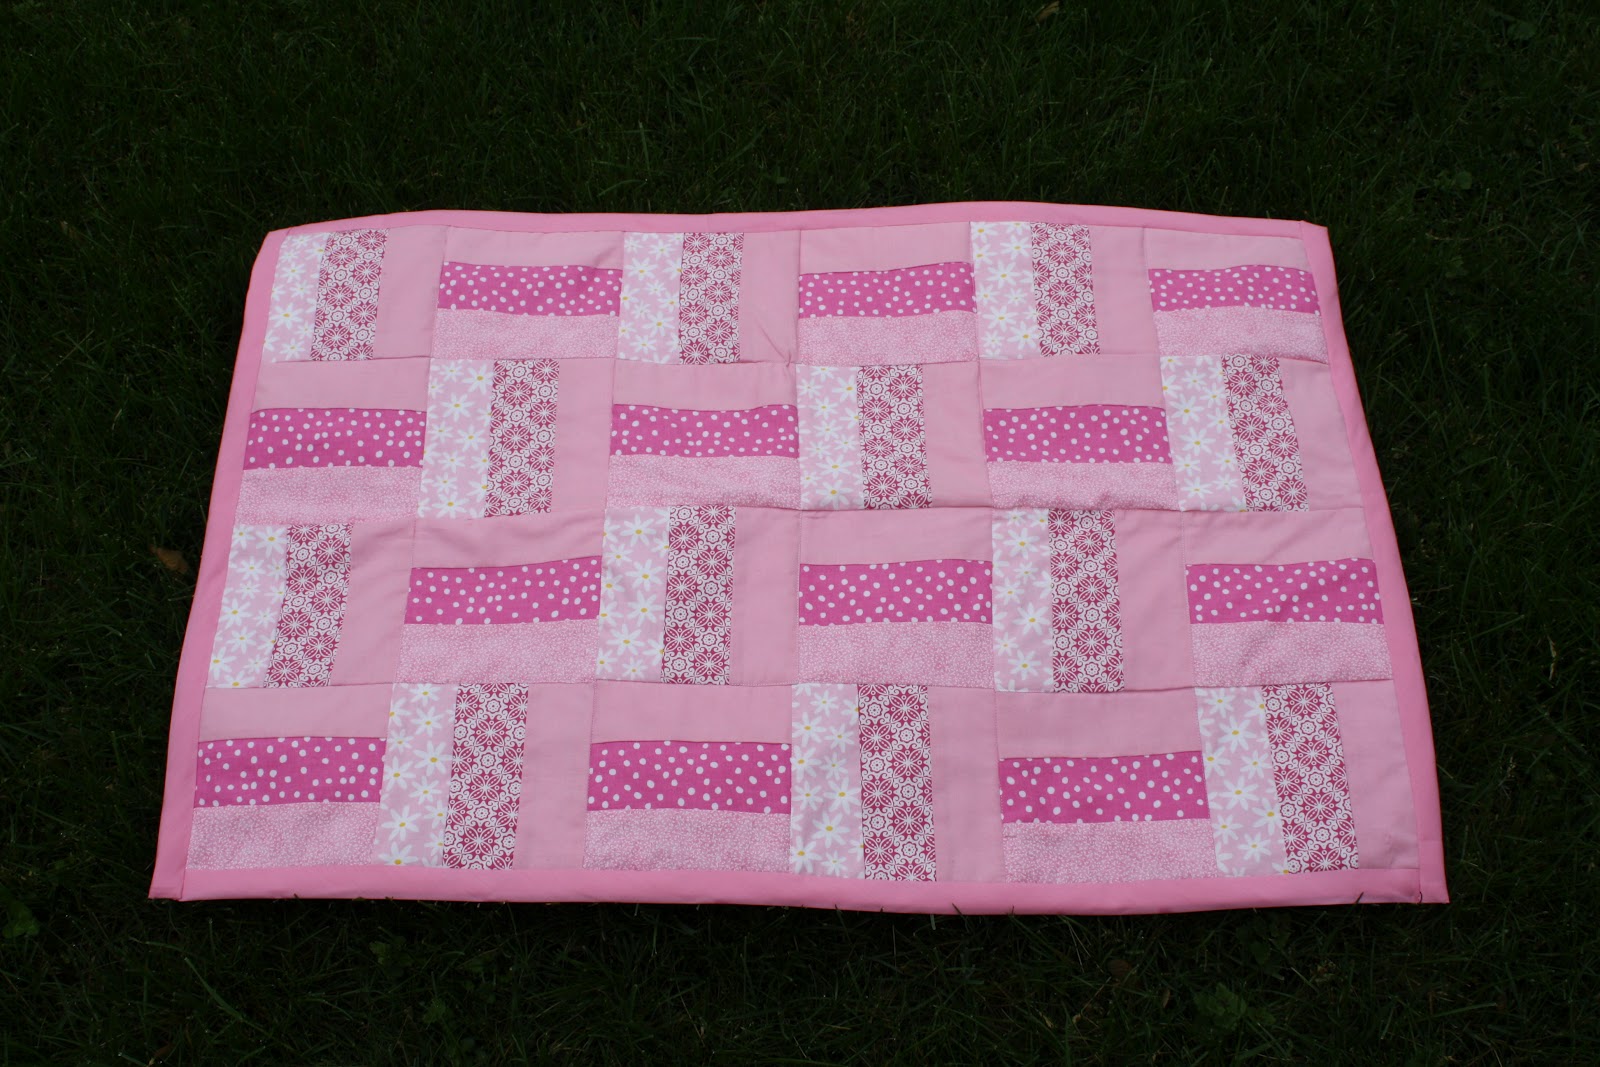
It would be unfair not to include my beloved sewing machine. I hope that all of you out there who sew have a similar love for the machine you use.


Sunday, May 20, 2012

An Apron for Claire

10:43 AM 2 Comments
Remember my earlier reference about buying all the material for a quilt and then never getting around to making it? Case in point: Five years ago, I planned a baby quilt for my brand new niece Claire. I was eight months pregnant myself at the time and foolishly thought I'd get it done before Finn entered my life. It didn't happen, and the years passed. I ended up making Claire a quilt for her third birthday, so I'm clear of my Auntie Hopie commitment, but I used different fabric. The originally purchased material has been sitting in a box in my basement waiting for just the right moment.

I remembered that stockpile of fabric a few weeks ago when I was thinking about Claire's upcoming fifth birthday. I thought perhaps I could make her an apron, and the World Wide Web, in a moment of grace, gave me exactly what I was looking for. I am so ridiculously excited about this project and about this super easy, super user-friendly tutorial at Stardust Shoes

Classic Reversible Apron

The step-by-step directions on the tutorial are excellent; this would be a great project for even a beginning sewer. I'll add a few comments/tweaks/suggestions that may be helpful.
  • The pattern calls for two pieces of coordinating fabric, each measuring at least 23” (length) x 20”(width). Because I was working with what I had, I used five different fabrics, each measuring 12" x 44" (1/3 yard from five different 44" bolts), and split the front and back into two different panels.
  • The pattern only includes one pocket. To make it 100% reversible, I included two. I did not, however, make the pattern out of two different fabrics (as shown above).  I did decide to split the one big pocket into two pockets; since I already had a seam running down the middle and because the entire apron is topstitched, it worked visually, and I think the two pockets are a little less floppy than one big pocket would be.

  • I used two fabrics (purple and yellow) for the front panel, two fabrics (green and pink) for the back panel, and blue for all four straps and the two pockets.

  • So as to work with what I have, my straps were only cut to 3" instead of 4". This makes the final straps a bit narrower than shown above. Buy a half yard of the strap/pocket fabric if you want wider straps.
  • Calling all Grandmas: this would be a REALLY fun project to make for a kid with a kid - take them to the fabric store, let them pick out their five fabrics, and throw it together. I plan on doing that with Finn sometime soon.
  • Note that the pattern also includes adult dimensions. I shall be treating myself to an apron sometime soon, too.
  • I put this together, start to finish, during one naptime. Love. The only notion I had to buy were the two D clips. I bought the 3/4 " size (since my straps were narrower) which cost about $2.50. The fabric (according to the 2007 receipt I found in the bag) cost around $12. 
  • Here is Finn dutifully modeling Claire's apron. They look like twins, so just imagine long curly red hair and you'll get the idea.

 Now go print the tutorial! And have fun!

Tuesday, May 15, 2012

Dessert Tonight: Strawberry Rhubarb Bars

3:30 PM 0 Comments
While I'm generally a great big wimp when it comes to cooking without a recipe, I'm pretty good about substitutions. Many a baked good in my kitchen has included a tablespoon of mayonnaise instead of an egg, and I'm pretty good about concocting combinations of milk and yogurt to resemble various thicknesses of cream. I think it comes from the Mongolia years, when I really didn't have any choice but to substitute and when I ate pretty darn well despite the limited ingredients.

I picked up some rhubarb at the grocery store today, along with a whole bunch of strawberries. At the time I was thinking, naturally, of making a pie. However, as we have plans to picnic this evening, I thought perhaps it would be wise to make something more portable, so I started searching for a recipe for strawberry rhubarb bars. I loved this one that I found on the EatingWell website. The first ingredient on the list is 1 cup of chopped nuts or oats. I knew that I had just used up all of my oatmeal and nuts on the last batch of granola...but I thought perhaps I can use a cup of the granola instead. It proved an excellent substitution. Because the granola is sweetened (and includes sweetened coconut), I cut back on the sugar a bit. I also halved the recipe because, really, a 9 x 12 pan of sweets in the middle of the week is just not a good idea. If you want to make more, I'd recommend following the proportions in the original recipe as I was a bit footloose with my math in dividing the ingredients.

Enjoy!


Strawberry Rhubarb Bars
Adapted from Eating Well

Makes 9 bars

PRINT ME!

For the crust:
1/2 cup plus 2 Tbsp. granola (preferably without dried fruit)
1/2 cup whole wheat flour
1/2 cup white flour
1/4 cup sugar
1/4 tsp. salt
3 Tbsp. cold butter, cut into small pieces
1 large egg
1 Tbsp. vegetable oil
1/2 tsp. vanilla extract

For the filling:
2 c. diced strawberries
1 c. diced rhubarb (from one large stalk)
2 Tbsp. orange juice
4 Tbsp. sugar
2 Tbsp. cornstarch
1/2 tsp. vanilla extract

  1. To prepare crust: Combine 1/2 cup granola, whole wheat flour, white flour, sugar, and salt in a food processor. Pulse until the nuts are finely ground. Add butter; pulse until well incorporated. 
  2. Whisk egg, oil, and vanilla in a small bowl. With the motor running, add the mixture to the food processor. Process, then pulse, scraping down the sides, if necessary, until the mixture begins to clump, 30 to 45 seconds (it will look crumbly).  Measure out 1/4 cup of the mixture and combine in a bowl with the remaining 2 Tbsp. of granola. Set aside for the topping.
  3. Preheat oven to 400 degrees. Generously coat an 8x8 square baking pan with cooking spray.
  4. To prepare fruit filling: Combine 1 1/2 c. strawberries, 3/4 c. rhubarb, orange juice, sugar, and cornstarch in a saucepan.  Bring to a simmer over medium heat, stirring constantly, until the mixture is very thick, 4 to 5 minutes.  Stir in the remaining fruit and the vanilla. Set aside.
  5. Transfer the crumb mixture to the prepared baking pan. Spread evenly and press firmly into the bottom to form a crust. Spread the fruit filling over the crust. Sprinkle the reserved topping over the filling.
  6. Bake for 15 minutes. Reduce oven temperature to 350 degrees and bake until the crust and topping are light brown, 20 to 25 minutes. Let cool completely before cutting into bars, at least 1 1/2 hours.

Monday, May 14, 2012

The Hopeful Gardener

1:12 PM 2 Comments
I love gardening in May. Everything is promising, everything has potential. I can stick a handful of seeds in the ground and anticipate eating from their bounty in August. I can pat the rich, dark soil around a pepper plant and admire the soft strength of the leaves. In May, nothing has failed. There are no infestations on my pumpkins, and my tomatoes aren't leaning dangerously to this side or the other. In May, I am hopeful that everything I put into my garden will provide for my family in the later summer months. In May, my thumbs are green, and it is nothing but joy.

This is our sixth summer at our house, and the raised beds that we put in that first summer finally collapsed into a heap of rotting lumber. So last week I put my crafty carpenter hat on and constructed a brand spanking new raised bed.

If anyone is interested in a general description of how I did that, you can read my plan here. For the purposes of the casual reader, I'll just include a few pictures:

The site of the former and future garden.

Fun with power tools!


I drilled into a 2x2 length in the corners for stability.

Note: Empty garden beds make excellent dance floors.

The bed in place and filled with half a truck load of compost.
Adding the compost.


Finn pretending to be a strawberry.

Once the bed was finished, it was time to plan and plant the garden. We usually plant around Mother's Day, and this year I was gifted with a solo trip to the gardening center to buy everything we needed. It's not that I don't love bringing my two and four year old to a crowded greenhouse and pushing them around in a gargantuan cart while running back and forth from section to section...I just enjoyed it a teensy bit more by myself. To make the trip even more extravagant I bought a jamocha shake on my way there. Mother's Day Out.

Here's the finished garden. Nothing too unusual, though the bare root strawberry is a new attempt for us. Putting in the garden was a lot of fun with Finn at my side, and I think he'll really enjoy watching the process this year. We planted about half plants and half seed, so there should be plenty to see.

Laying out the plants and seeds.

Measuring.

The finished garden.


The happy gardener.


Tuesday, May 8, 2012

Dream Jobs and Spanish Frittata

9:08 AM 1 Comments
It's May now, and my thoughts are very much on the fact that come August, I'm going back to work full time. I have mixed feelings about this, admittedly, but am very blessed in that I have the wonderful opportunity to go back to a job that I absolutely love working with people I adore and doing work that I believe in. And that takes some of the sting out of imagining life without my little sidekicks filling my days.


In addition to thinking realistically about my actual future, I also like to dream about what I would be doing if I could patch together all the things I love into one fantastic reality. Wouldn't it be great if we could turn those tiny experiences in life that bring such joy into steady employment? Among the bullet-points on my imaginary resume would be such fantastical details as:

  • creates beautiful customized hand-knit hats
  • sings and plays guitar for adoring preschoolers
  • bakes really good bread  
  • writes wildly successful early chapter books that get kids super excited about reading
  • runs family-friendly coffeeshop full of engaging playtime opportunities for children (I'm thinking treehouse), comfortable armchairs for parents, and perfect lattes
  • prepares and delivers meals for friends and families in need

I've thought a lot about that last one lately. I absolutely love to make food for people who may not be up to making food for themselves. I believe so strongly in the importance of food during times of transition. Is there a business plan in there somewhere? Perhaps. In the meantime, I'll just keep churning out casseroles and quiches and loaves of bread for friends who have just had a baby, or who are caring for a sick relative, or who just need help getting a meal on the table.

Our friends brought home a new baby girl last week. We dropped off a few meals for them, including this yummy frittata. I hope it was good for their bodies and souls...which is in turn good for their beautiful baby. This recipe, like the one I posted a few weeks ago for stuffed peppers, comes from Moosewood Restaurant New Classics. We had it for dinner, but it would also make a lovely main course for brunch. The recipe requires roasting the various vegetable before assembling the fritatta; this can be done in advance to save time.

Enjoy!

Just before adding the cheese and the egg mixture

Spanish Frittata
Serves 6-8

PRINT ME!

2 to 3 cups peeled and sliced potatoes (1/2 inch thick)
3 tbsp. olive oil
4 garlic cloves, minced
1 tbsp. paprika
2 cups thinly sliced onions
2 cups sliced bell peppers, any color
1/4 tsp. cayenne
6 eggs
3 oz. cream cheese
1 tbsp. flour
1 1/4 cups milk
1/2 tsp. salt
1/2 cup sliced Spanish olives
1 cup grated Monterey Jack or Cheddar cheese

Preheat the oven to 400 degrees. Lightly oil a 7 x 11 inch or 9 inch square baking pan (I doubled the recipe and used 2 8" cake pans).

In a bowl, toss the potato slices with 2 tbsp. olive oil, half the garlic, the paprika, and a dash of salt. Spread in an even layer on a baking sheet and roast for about 20 minutes, until tender and golden brown. In the same bowl, toss the onions and peppers with the cayenne and the remaining oil and garlic. Spread in an even layer on a second baking sheet and roast until tender and brown, about 15 minutes.

Meanwhile, combine the eggs, cream cheese, flour, milk, and salt in a blender and puree to a smooth custard.

When the vegetables are roasted, reduce oven temperature to 350 degrees.

Layer the roasted potatoes in the prepare baking pan. Spread on the roasted onions and peppers, sprinkle with the olives and the grated cheese, and pour the custard over all.

Bake for about 45 minutes, until the custard is set and the top is golden brown. Serve hot or at room temperature.

Monday, May 7, 2012

Charlie's Quilt - The Details

3:18 PM 1 Comments
I'm a self-taught quilter, and I'll admit up front that many of my techniques are pretty questionable; I'm sure there are specific ways to do many of the things that I've figured out as I go along, but I don't know them.

That said, I've learned a few tricks over the years and thought I'd share some of that today:

  • I always start my quilts with a scale drawing on graph paper. While I am certain that there are higher tech ways of doing this, I stick with paper and colored pencils.

  • After the drawing, I figure out how much fabric I need based upon the number and size of the blocks (accounting for seam allowances). It's more geometry than anything, and while I sort of enjoy dorking out in this regard, it also can be a bit mentally exhausting. I always err on the side of too much and donate leftover yardage. I love The I.D.E.A. Store for their willingness to take what I don't need.

  • I use a rotary cutter when I can. Sometimes scissors are just easier, though.

  • I recently purchased a great big cardboard sewer's mat. It turns my dining room table into a really big sewing table, and the measuring lines are very handy.  Since I don't have a designated sewing space, I like that I can lay out my quilt then move the board if we need to use the table.

  • As for the actual piecing, I chain piece as often as I can and keep an ironing board at the ready. The piecing is most often done in batches, because I'm generally working with small chunks of time. It is also often done with my trusty pin assistant at the ready.


    • Once I'm pieced and pressed, I buy the batting, backing, and edging. It's a rule of mine, kind of like not purchasing plants until the soil is prepared. Too many times I've purchased everything and not finished the quilt.

    • I machine quilt using a walking foot. I like quilting a bazillion times more since I got a machine that is able to do this. And I really like using quilter's safety pins to hold my layers together. I quilted Charlie's quilt with a basic diamond design in keeping with the baseball theme.


    •  As for finishing details, I almost always use double fold bias tape to finish the edges. It's so user friendly, and by the time I get to that point, I just want to be done.

    And finish I did! It turned out really great, and, as my sister noted in the comments on my previous entry, Charlie loved his "baseball blankie."

    "Hey, I have an idea for your blog."

    10:32 AM 2 Comments
    So says my sister Sarah shortly after I started this blog last fall.  She then teasingly reminded me that I still hadn't finished the baby quilt promised to her youngest child, Charlie, over a year and a half ago and suggested that I write a blog entry about finishing that. She was just giving me a hard time, but it was in fact a good kick in the pants for me to go back to that long-forgotten project and get stitching.

     Okay, maybe it wasn't quite enough of a kick. That was in October. I finished about half the piecing in January. I finished the rest of it last week...the last week of April. But the point is that I got to it, right?

    I have three sisters and among them they have eight children.  With the exception of Charlie, I have made a baby quilt for every single one of them.  I made the first one back in the summer of 1998 and the second one that fall. I made one entirely by hand in Mongolia and one when I was living in Missoula. I have made three more since moving to Illinois. None of my sisters are planning on having more kids, so Charlie's will be the last of the Auntie Hopie quilts.

    For Gracie - 2008


    For Iona - 1998

    For Claire - 2010

    For Didi (and with Didi!) - 2002

    I should add that I have started Charlie's quilt three times. The original plan was to attempt to match the quilt to the colors in his nursery, but that didn't quite work so I abandoned the effort. The next plan was to do something with a nautical theme, an effort to appease Charlie's dad, but I didn't make it very far with that design. In my third effort, I decided to go with Charlie's interests - at eighteen months, his favorite word was "baseball."  Not surprising, as he lives in a pretty hard core baseball family. I'm a baseball fan myself, and I loved this idea, particularly because I love the way he says "baseball" in his little voice.

    Quilting is a far bigger time commitment than knitting, particularly because I cannot multitask nearly as well with a quilting project. There are parts of the quilting process that I absolutely love, namely the planning. I love conceptualizing an idea and shopping for the fabrics. I despise cutting out the pieces but don't mind putting them together. I really don't care for the actual quilting. But I sure love finishing a quilt and presenting it to someone I love.

    So stay posted...I'll be back soon with details on the process and pictures of the finished quilt!