
Here's how I did it:
1 - Buy t-shirt. T-shirts were $2.50 at the craft store this week, so I grabbed a few. Prewash.
2 - Gather materials: shirt, thread, sewing machine, scraps of fabric, fusible interfacing, scissors
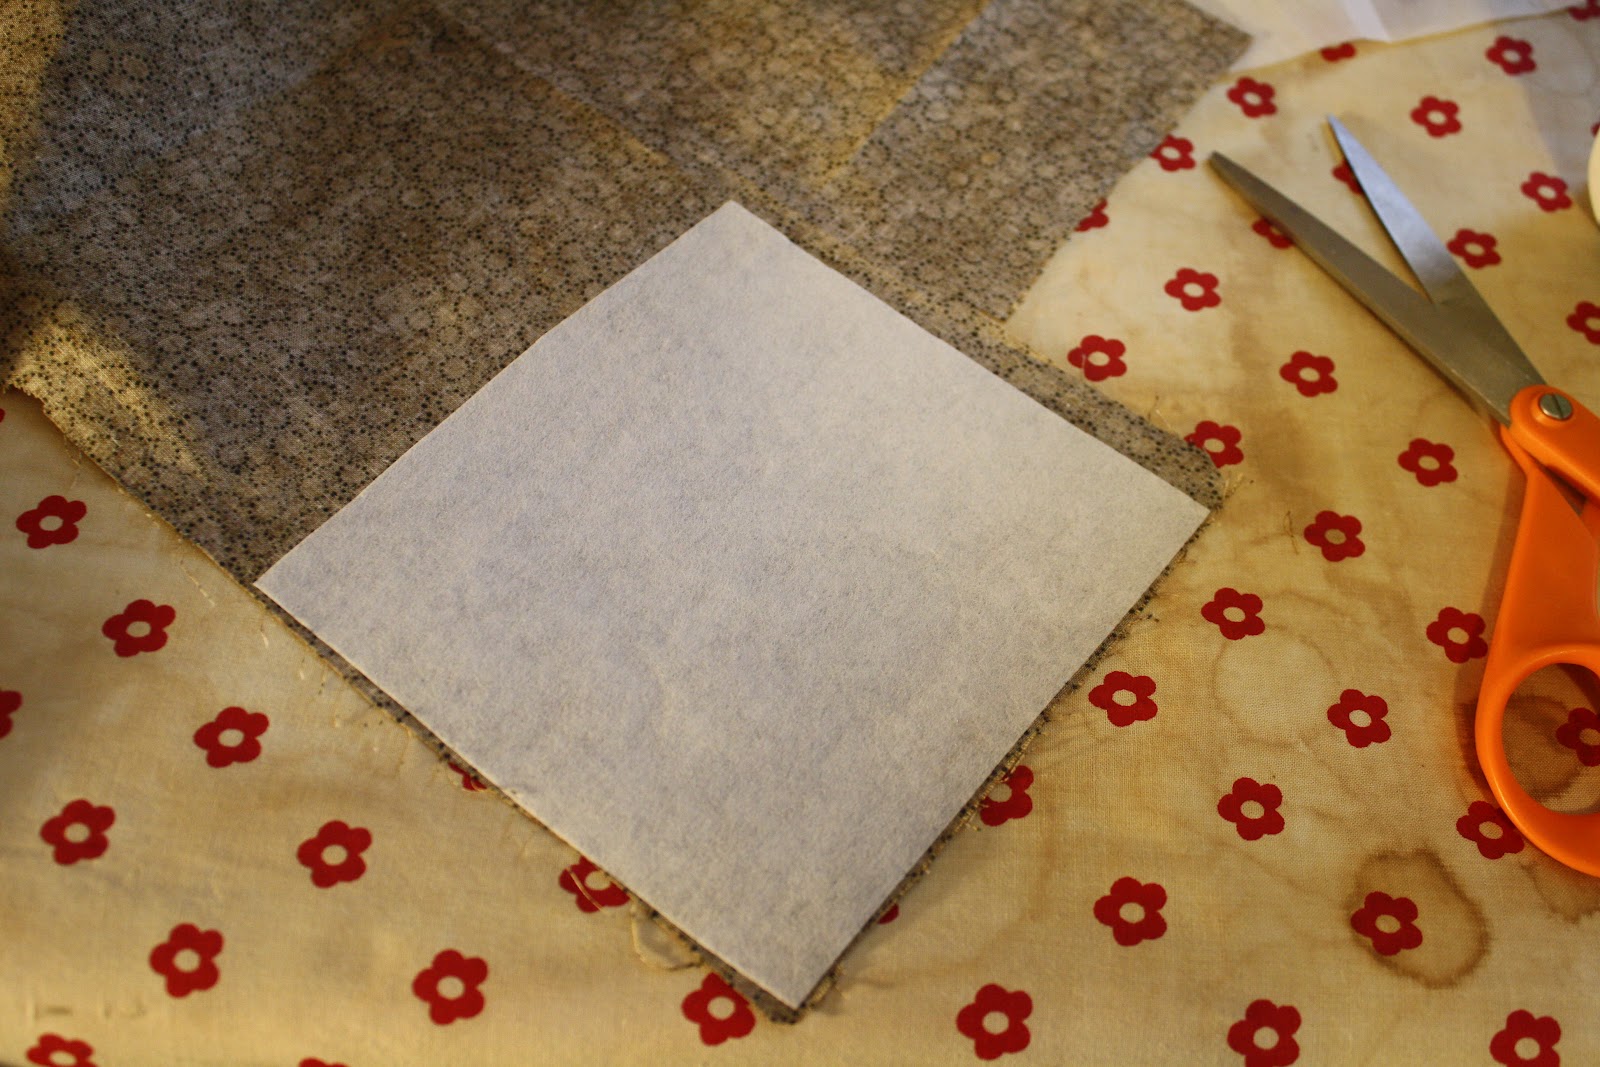
3 - I used the same method described in my last post - fusing interfacing to the back of the fabric before cutting out the shapes. This gives the design a lot more heft and also makes it easier to work with when it is on the machine.
4 - You can do whatever you want for patterns. I free-handed the mountain design. For others, I did Google Image searches until I found what I needed. I found that coloring pages were a good resource as they provide blocky interpretations of images.

5 - Cut out the different components of the design from your fabric scraps (that already have interfacing fused on the back), then lay out the pieces on the shirt and pin everything into place.

6 - Sew all raw edges with a zigzag stitch. Mine was set at 2.5 width, .5 length. Practice on a scrap to make sure it is the size you want it.

7 - Trim all loose threads then dress your kid!


No comments:
Post a Comment