Monday, June 25, 2012

Road Trip Review

6:12 PM 0 Comments
We've now been in Montana for more days than it took us to get to Montana. We drove twenty-six hours over three days, put 1500+ miles on the minivan, and arrived none the worse for wear - it was a remarkably pleasant road trip, punctuated by hotels with swimming pools, many impromptu frisbee stops, and lots of stories and songs. The road trip bags came in very handy and, save the occasional colored pencil spillage, the kiddos were pretty independent exploring them.


Other road trip highlights included:

The obligatory stop at Wall Drug (and chance to run around in the sprinklers out back,
 as evidenced by my very wet child)
Picnicking on my college campus - my freshman year dorm is right behind us
Stopping for ice cream in Livingston, MT - it tastes better with a view like that
Swirly whirly hot tubs.

I could insert a half dozen adages here about getting there being half the journey and all that, and while I will spare you the canned sayings, I gotta say it's true. I'll be back soon with a few posts from Montana...when I'm not fishin' or hikin' or explorin' or campin' or doing all the things we love about this great state. Stay tuned!

Wednesday, June 13, 2012

Applique Fever

5:09 PM 0 Comments
Monday's little adventure in making tote bags got me all excited about applique. Bet that isn't a sentence you read every day. Anyway, I've been wanting to make shirts for my kids for a while, so after I finished the bags, I whipped up a shirt for Finn. I kind of really love it:


Here's how I did it:

1 - Buy t-shirt. T-shirts were $2.50 at the craft store this week, so I grabbed a few. Prewash.

2 - Gather materials: shirt, thread, sewing machine, scraps of fabric, fusible interfacing, scissors

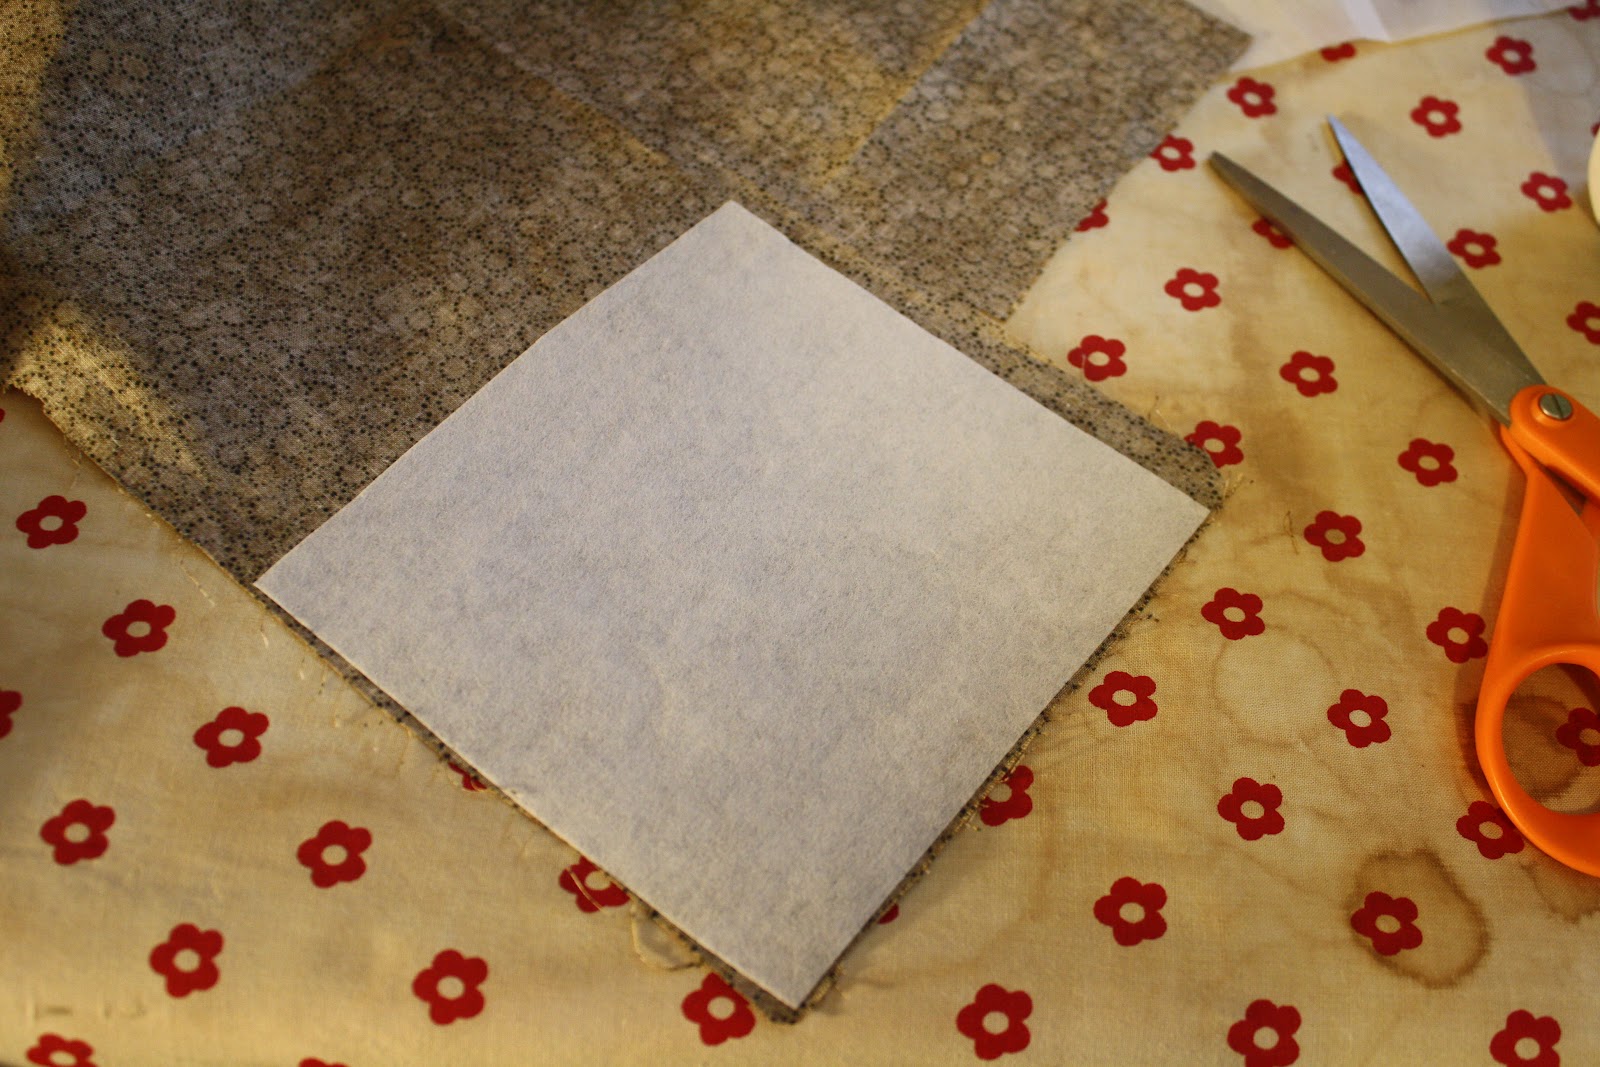
3 - I used the same method described in my last post - fusing interfacing to the back of the fabric before cutting out the shapes. This gives the design a lot more heft and also makes it easier to work with when it is on the machine.


4 - You can do whatever you want for patterns. I free-handed the mountain design. For others, I did Google Image searches until I found what I needed. I found that coloring pages were a good resource as they provide blocky interpretations of images.


5 - Cut out the different components of the design from your fabric scraps (that already have interfacing fused on the back), then lay out the pieces on the shirt and pin everything into place.


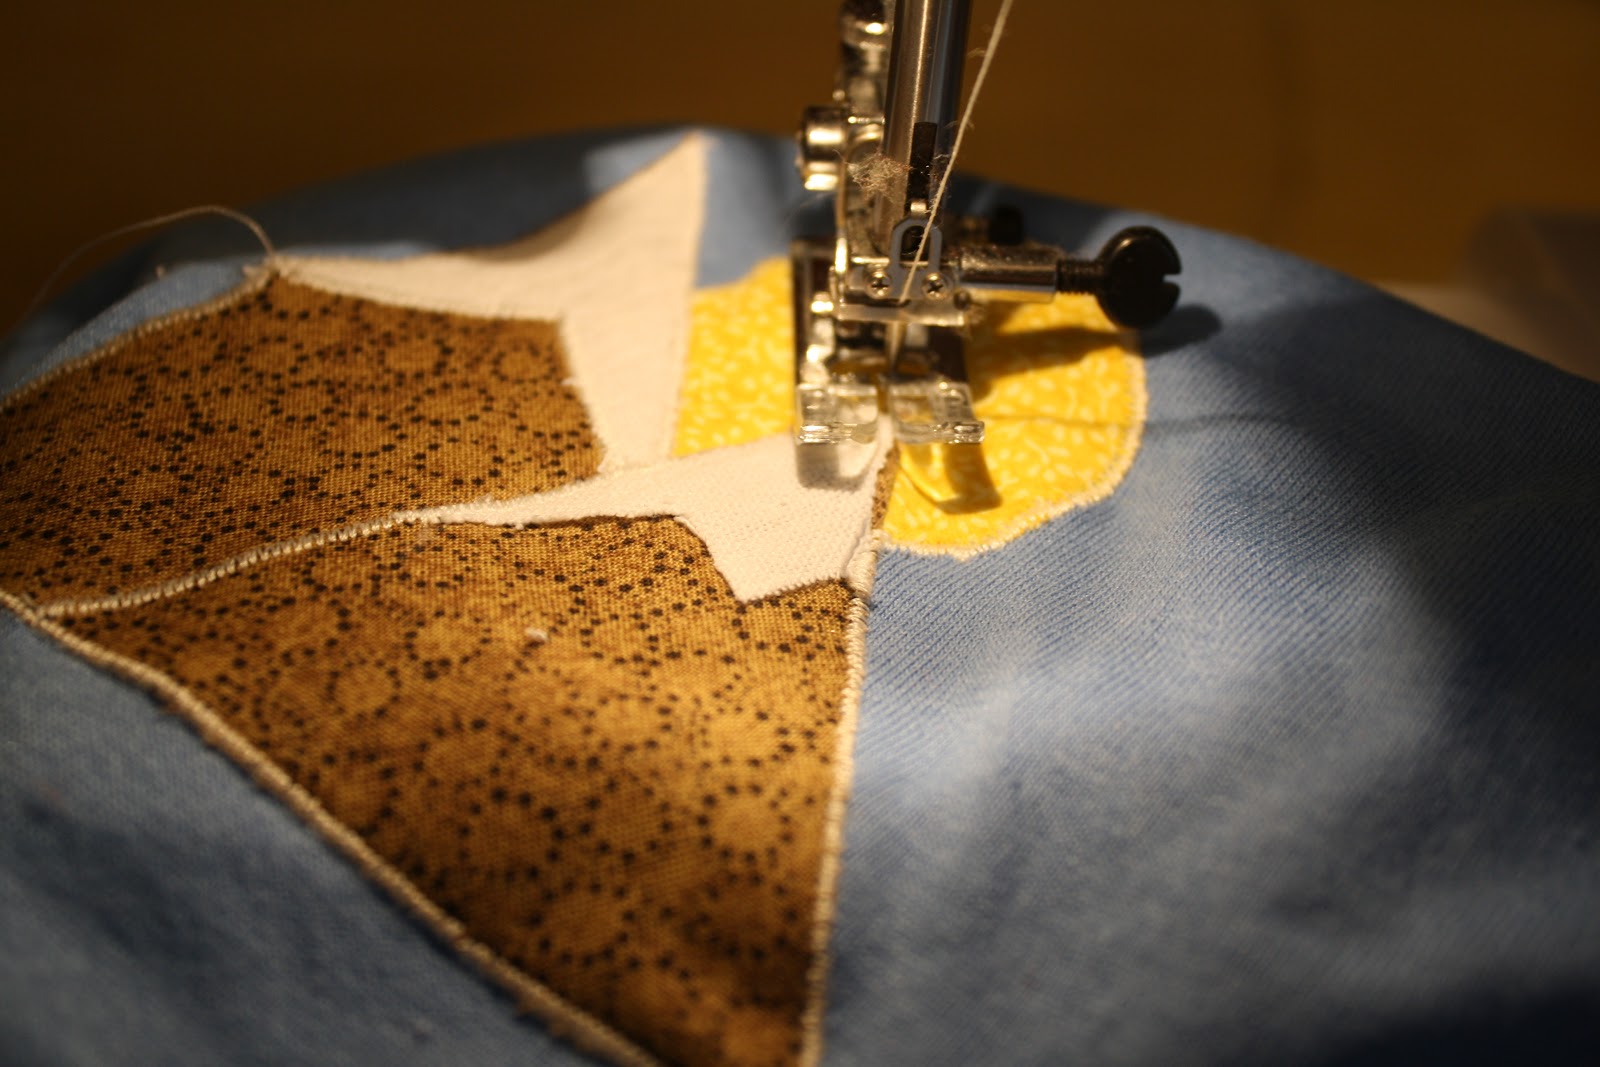
6 - Sew all raw edges with a zigzag stitch. Mine was set at 2.5 width, .5 length. Practice on a scrap to make sure it is the size you want it.


7 - Trim all loose threads then dress your kid!

Tuesday, June 12, 2012

Homemade English Muffins

8:01 AM 0 Comments
I read cookbooks the way some people read novels, and I've got a new favorite. I love it so much, in fact, that I won't let the library have it back until I absolutely have to. Marion Cunningham (who is a real person, not the mother from Happy Days...) is best known for her work on The Fannie Farmer Cookbook. Back in 1987, she also wrote a book called The Breakfast Book and I simply can't get enough of it. This is not a brunch book - "brunch," she writes in her introduction, "with its undefined ingredients and preparations, is entirely different from breakfast." Nope, this is a cookbook for breakfast (or, as is often the case in our house, breakfast-for-dinner) and includes 288 recipes for all things morning with an emphasis on grains. In addition to the recipes, there is extensive narrative and explanation which, in my opinion, is what makes a cookbook both fun and functional. There are also recipes for such odd-sounding items as baps, bannock, scrapple and rusk, so you really can't go wrong.

I've cooked a few things out of this in the last month or so. One of the first things I tried was a recipe that grabbed me both for its uniqueness and its simplicity -- homemade English muffins. Unique in that they are a yeast-based dough that you do not bake. Simple in that they only require 8 ingredients but yield something far greater than the sum of the parts. This is not your average grocery store muffin - these were fluffy and soft and absolutely delicious.

To make English muffins, you need rings. I picked up a set at the kitchen store for about $6. Alternately, you can use tuna cans with both ends removed.


After the first rising, the muffins are cut out from the dough and left to rise on a cornmeal-sprinkled cookie sheet.


They are then cooked in a skillet back inside the rings. I was crazy nervous about placing metal rings in my nonstick skillet as I am kind of nuts about taking care of these. The rings don't really move at all, though, so it wasn't a problem as long as I was careful. You can only cook as many muffins as you have rings at a time, so account for this in your timing. I ended up making 8 then freezing 8 in their pre-griddled format - they defrosted beautifully another day.


The rings also came in handy for making circle-shaped eggs for breakfast sandwiches. And what divine breakfast sandwiches they were...


Enjoy!

English Muffins
Adapted from The Breakfast Book
Yield: 16 muffins

PRINT ME!

1/2 cup warm water
1 package yeast
1 1/2 tsp. salt
1 tbsp. sugar
1 cup milk, warmed
3 1/2 cups flour
3 tbsp. oil
1/2 cup cornmeal

Pour the water into a  large bowl, sprinkle the yeast over, and stir.  Let stand for 5 minutes to dissolve. Stir in the salt, sugar, warm milk, 2 cups flour, and the oil. Stir briskly with a spoon for a minute to mix well. Add the remaining flour and stir to blend smoothly.  This dough will be very soft. Cover and let the dough double in bulk - about an hour.

Flour a board and your hands. Put the dough on the board, and add a little flour if it is too sticky to manage. Knead the dough three or four times. Pat and push the dough out so it is about 1/4 inch thick. Using a 3 inch ring as a cutter, cut the dough out and place the muffins 1 inch apart on a baking sheet that has been sprinkled with cornmeal. When the muffins are all cut, cover them lightly with a towel and let them rest for 30 minutes.

Heat a griddle until medium hot and spray with cooking spray. Spray the inside of the rings and place on the griddle. Put the muffins in the rings and cook for about 10 minutes on one side and 5 minutes on the other. Watch closely and lower heat as needed.

Before serving, split the muffins in half with a fork and toast. Butter generously and serve warm.